|
How I Built Fred Part 3
|
|
How I Built Fred Part 3
|
|
The Bench |
|
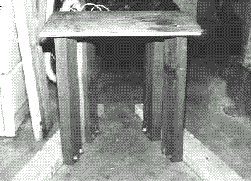 |
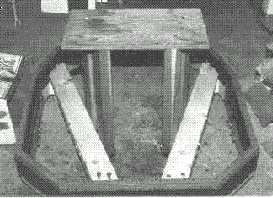
I seem to recall reading somewhere that the early Dalek operators used some sort of office chairs to roll around inside with. I build a bench with supports that would bolt to the inside of the base. |
|
(I used 2 x 4"s to build the supports, and the bench itself was a piece of plywood.) |
 |
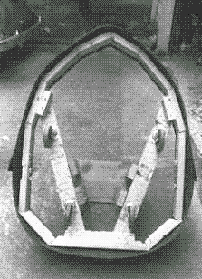 |
I learned not to use furniture coasters for wheels only after I'd finished "Fred" the first time and tried rolling around. I purchased some 6" rubber caster wheels, and that made a big difference. |
|
| The Skirt | |
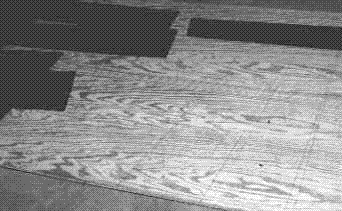 |
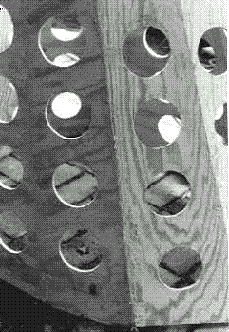
It was pure guesswork and trial and error to get the "skirt" panels cut out correctly. The tech manual drawings are pretty accurate, but using a radial arm saw to get the exact angles so that the panels meet together properly was tricky. They also had to be even along the top and bottom edges. I recall having to cut a few of these more than once, and lopping off the top, bottom or both to get things to match. |
|
|
 |
| I
nailed through the narrow edges with small brads every inch or two down
each corner. I filled any gaps with wood putty with Version I of the
skirt. That didn't work too well, because every time I picked it up, it
cracked. A better alternative was to put a bead of a paintable sealant
along the edges before I nailed them together.
Cutting out the "sensor" holes was also tricky. I didn't want to pay the price for a hole saw that could cut the 4"+ hole out in one shot, so I used the 3" or so size I had on hand, then used the sabre saw to cut out the rest of the hole to the proper diameter. |
|
| The Hemispheres | |
|
(Old style 2-liter soda bottle bottom. I sprayed the silver paint on the inside.) |
Speaking of those
sensors, I had a devil of a time trying to figure out what to use for
those. I got the solution from a guy who had made a Davros chair --
2-liter soda bottle bottoms. With the lip they had along the bottom, they
held in the holes from the outside just great. I don't believe they make
these bottles the same way anymore.
With Version II of Fred's skirt, I flanged the inside of the holes I cut out and mounted the hemispheres from the inside, holding them in either with duct tape or tacks. |
| It was also trial and error to make sure that the hemispheres all lined up horizontally, by the way. I'm sure there's a way to do it, but at the time, I didn't know how. This is especially critical with the panels at the front that slope more. | |
| Back | Next |