How I Built Fred

Part 2

The Base (or Fender)

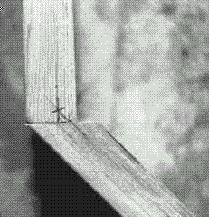
Base angle


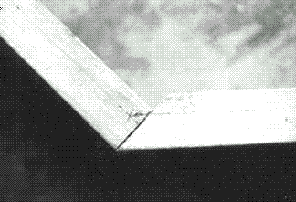
I put nails through the angles, to hold them together, following the lines I drew on the tops.


My first step was to cut out the pieces of the base for Version I. I used the tech manual's schematic for cutting out the proper angles. I was using 2" x 6" boards here.


Base Angle

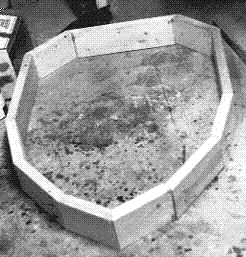
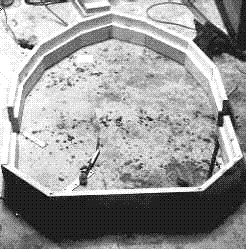
Version I pieces asswmbled to test fit

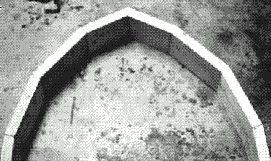
View of front end pieces together

The pieces cut and laid out on the floor.

Versin I base in two pieces


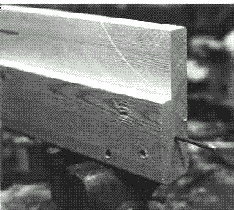
I drove nails into one end of the base board, then sawed off the head of the nail. I drilled corresponding holes in the other sides of the base boards. This way, the nails would guide into the holes and keep the two pieces aligned.


Once the pieces were cut, I used the radial arm saw to create "shelves" for the "skirt" (part with the bubbles) to rest in. Note: This method could be used for the original, shallow base the TV show Daleks possess).

I decided that I'd split the base into 2 parts, at the time, to allow ease for transporting the Dalek in a car.


Close up of middle with nail


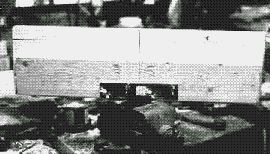
Middle pieces with joining plate

I used narrow 6" long, 1/8" thick pieces of metal with pre-drilled holes to hold the pieces together. (I got them from the hardware store, but I forget what they're used for.) Through the holes, I put threaded bolts with wingnuts. This would allow for quick assembly and disassembly of the two base pieces.

The two pieces of the base that meet together, with the metal slats in place before drilling the holes.

Back Next

Back to Workshop