|
The Solar Panel |
|
|
|
Next came the "solar panel" band supports. The whole assembly would eventually be screwed into these. |
|
(Version I, where I hadn't cut out or attached the gun ports yet?) |
|
|
How I Built Fred Part 5 |
|
The Solar Panel |
|
|
|
Next came the "solar panel" band supports. The whole assembly would eventually be screwed into these. |
|
(Version I, where I hadn't cut out or attached the gun ports yet?) |
|
|
|
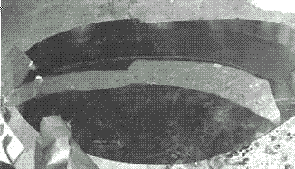 |
| Once again, I cut out the solar panel support band with a plastic pattern, cutting away the excess. |
|
I just sorta
attached and trimmed away the decorative screening that fits between the
band and the solar panels, not bothering |
|
|
|
|
|
|
|
| The Neck | ||
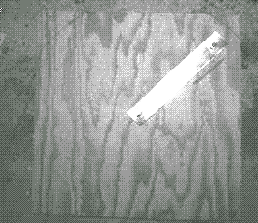 |
Using 3/4" plywood yet again, I cut out the neck rings. | 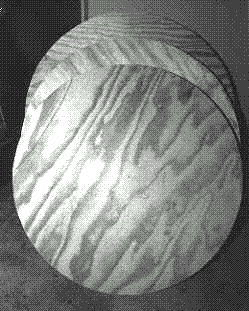 |
|
|
||
|
As nearly as I can tell from video and photos, the edges of the neck rings came to a point. Since I didn't know how to go about reproducing that, I used a chamfer bit on a router and it left only a small flat edge. After sanding and painting it white, it's very difficult to see the difference. (For Version II, I stripped off the white and painted them silver |
|
|
|
There are dowels in the neck that serve as decorative (I think) supports that pierce the rings near the inside of the rings. There are also larger supports that hold the masking screen (so the operators can see out) to the inside of the rings. |
|
| Here's the finished Version I neckrings. Note the tops of the dowels have been cut at an angle, to accomodate the dome shape. (I used some reflective mylar on the inside of the neck, making it difficult for people to peer in.) |
|
|
|
|
| The Head Mount | ||
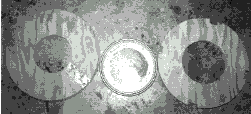 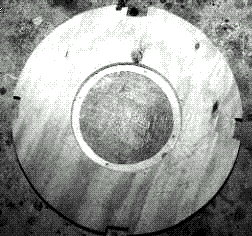 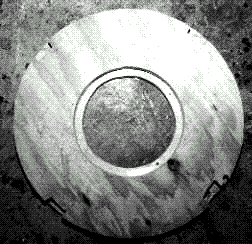 |
Apparently, there were some pretty crude methods for making the Dalek head domes rotate, at least with the early ones. I just built a turntable assembly with a "lazy Susan" ball bearing assembly from the hardware store. I managed to use the leftover 3/4" plywood pieces from the neck rings. Note the clearance for the eyestalk pivot in the top piece at left. Also note the notches for the neck ring supports in the lower disc in the photos above. |
I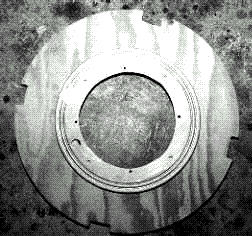 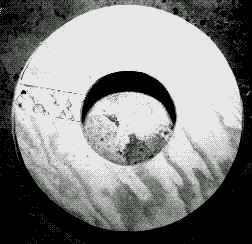 |
|
Here's the asssembly mounted in the neck. The lower part of the turntable is flush with the tops of the support boards in the neck, with just the top part of the turntable protruding above. Also, the top disc was cut at a slight angle with the sabre saw, to somewhat match the angle of the dome. |
|
| Back | Next |